

The Sun-dried Earth Meets the Fire
Our cooking instructor, Eva Szigeti, inspires us with her family’s story of building a cob rocket stove in their backyard, and includes a recipe that can be made on an outdoor stove, as well as in your kitchen.
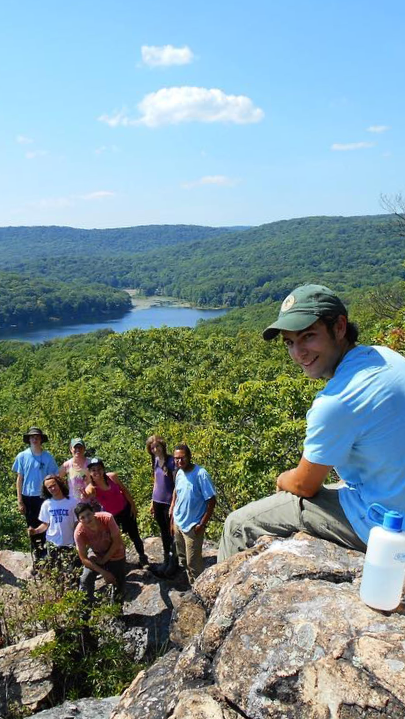
I am looking forward to the summer and the prospect of outdoor activities associated with the warmest season. For our family, these include outdoor cooking and dining whenever possible. Cooking and eating in the open air connects us to the outdoors in the most comforting way. The fire, fresh breeze, and simple seasonal food, often prepared with the most primitive cooking methods, create an atmosphere that breaks the monotony of everyday cooking and everyday life. Taking the kitchen activities to the backyard is a good first step in embracing everything outdoorsy.
In preparation for the upcoming season, our family decided to do a rather ambitious project – building a cob rocket stove in the backyard. The crew of builders consisted of a small group of children (8-12 years old) and myself. After being inspired and educated by a short how-to video, we got to work. The first step was sourcing the building materials. We didn’t need much: some clay, dry grass, a little sand, and water. Our budget for the project was zero dollars. Instead of money, we invested time, creativity, and lots of manpower. The acquisition of clay was the most physically demanding part of the job. Luckily, it was the first step of the process, and everyone felt very inspired and full of energy. Getting clay meant digging down to the subsoil. Digging in Rockland County goes just as you might imagine it would: meeting lots of stones on the way. It can get challenging and frustrating at times. A spade isn’t enough to do the job. The kids didn’t seem to mind the hard work. Those old enough to handle real tools in a safe manner, enjoyed taking turns using the pick-ax. We had a contest: who could dig up the largest stone. No one won. Getting out the largest one took a group effort.
The next step was scouting the property for some dried grasses. Then the clay-based soil was put on an old tarp, mixed with some chopped dry grass and sand ‘stolen’ from the unused sandbox. Water was added and the ‘kneading’ could begin. We started working with plastic gloves on our hands, but soon the gloves were being pulled off by the weight of the sticky wet clay. We gave up on them and confronted the mud with our bare hands. From there on, it was a full immersion into the process. The mud sort of became part of us, the strange feeling on the hands disappeared, and no one was bothered anymore by being muddy all over. A couple children, tired of ‘kneading,’ cleaned the ground and drew the outline of the future cob stove with a stick. As soon as the mud dough was ready, we started to form the base of our rocket stove. Everything was going well until the wall was about 10 inches high. Then we had to stop. According to the instructional video, the whole stove can be build in a couple hours. But our experience proved otherwise. The wall was slowly slipping to the sides under its own weight. We needed to wait for it to dry before continuing. The prospects for drying were grim. There was a strong rainstorm overnight. I was almost afraid to go out in the morning. I braced myself for a disaster, but our emerging structure was still there. It did not melt away in the rain.
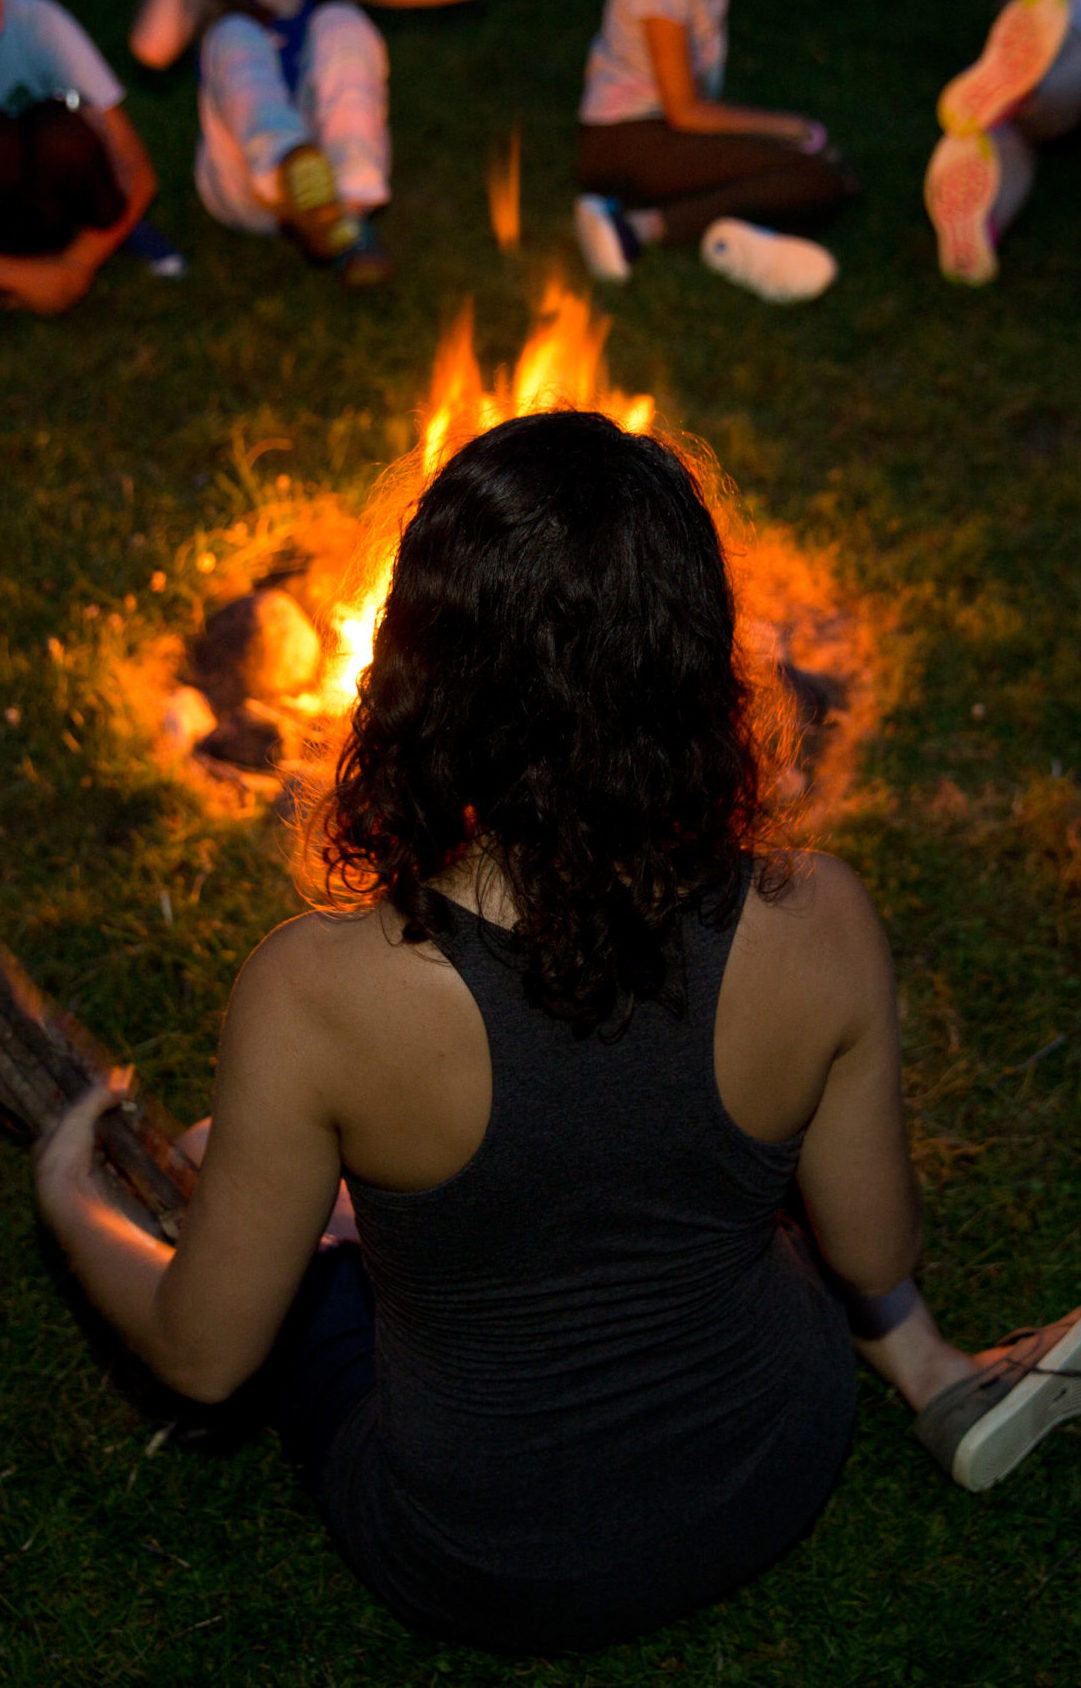
It took us two more days of building, with days of waiting (for the clay to dry) in between, to finish our project. Then, it was time to test our creation. Utilizing survival skills learned at camp, my son built a fire and gave a small lesson on how to do it to the rest of the group.
Finally, the sun-dried earth met the fire for the first time. Nothing cracked, nothing collapsed. Our cob rocket stove was ready for cooking….first we enjoyed the warmth and light from the fire. Soon after, we delighted in the aromas escaping from the heavy cast iron pot, and in a couple of hours, we feasted on the fresh, pleasantly smoky bean chili, made all the better by the satisfaction of a job well done.

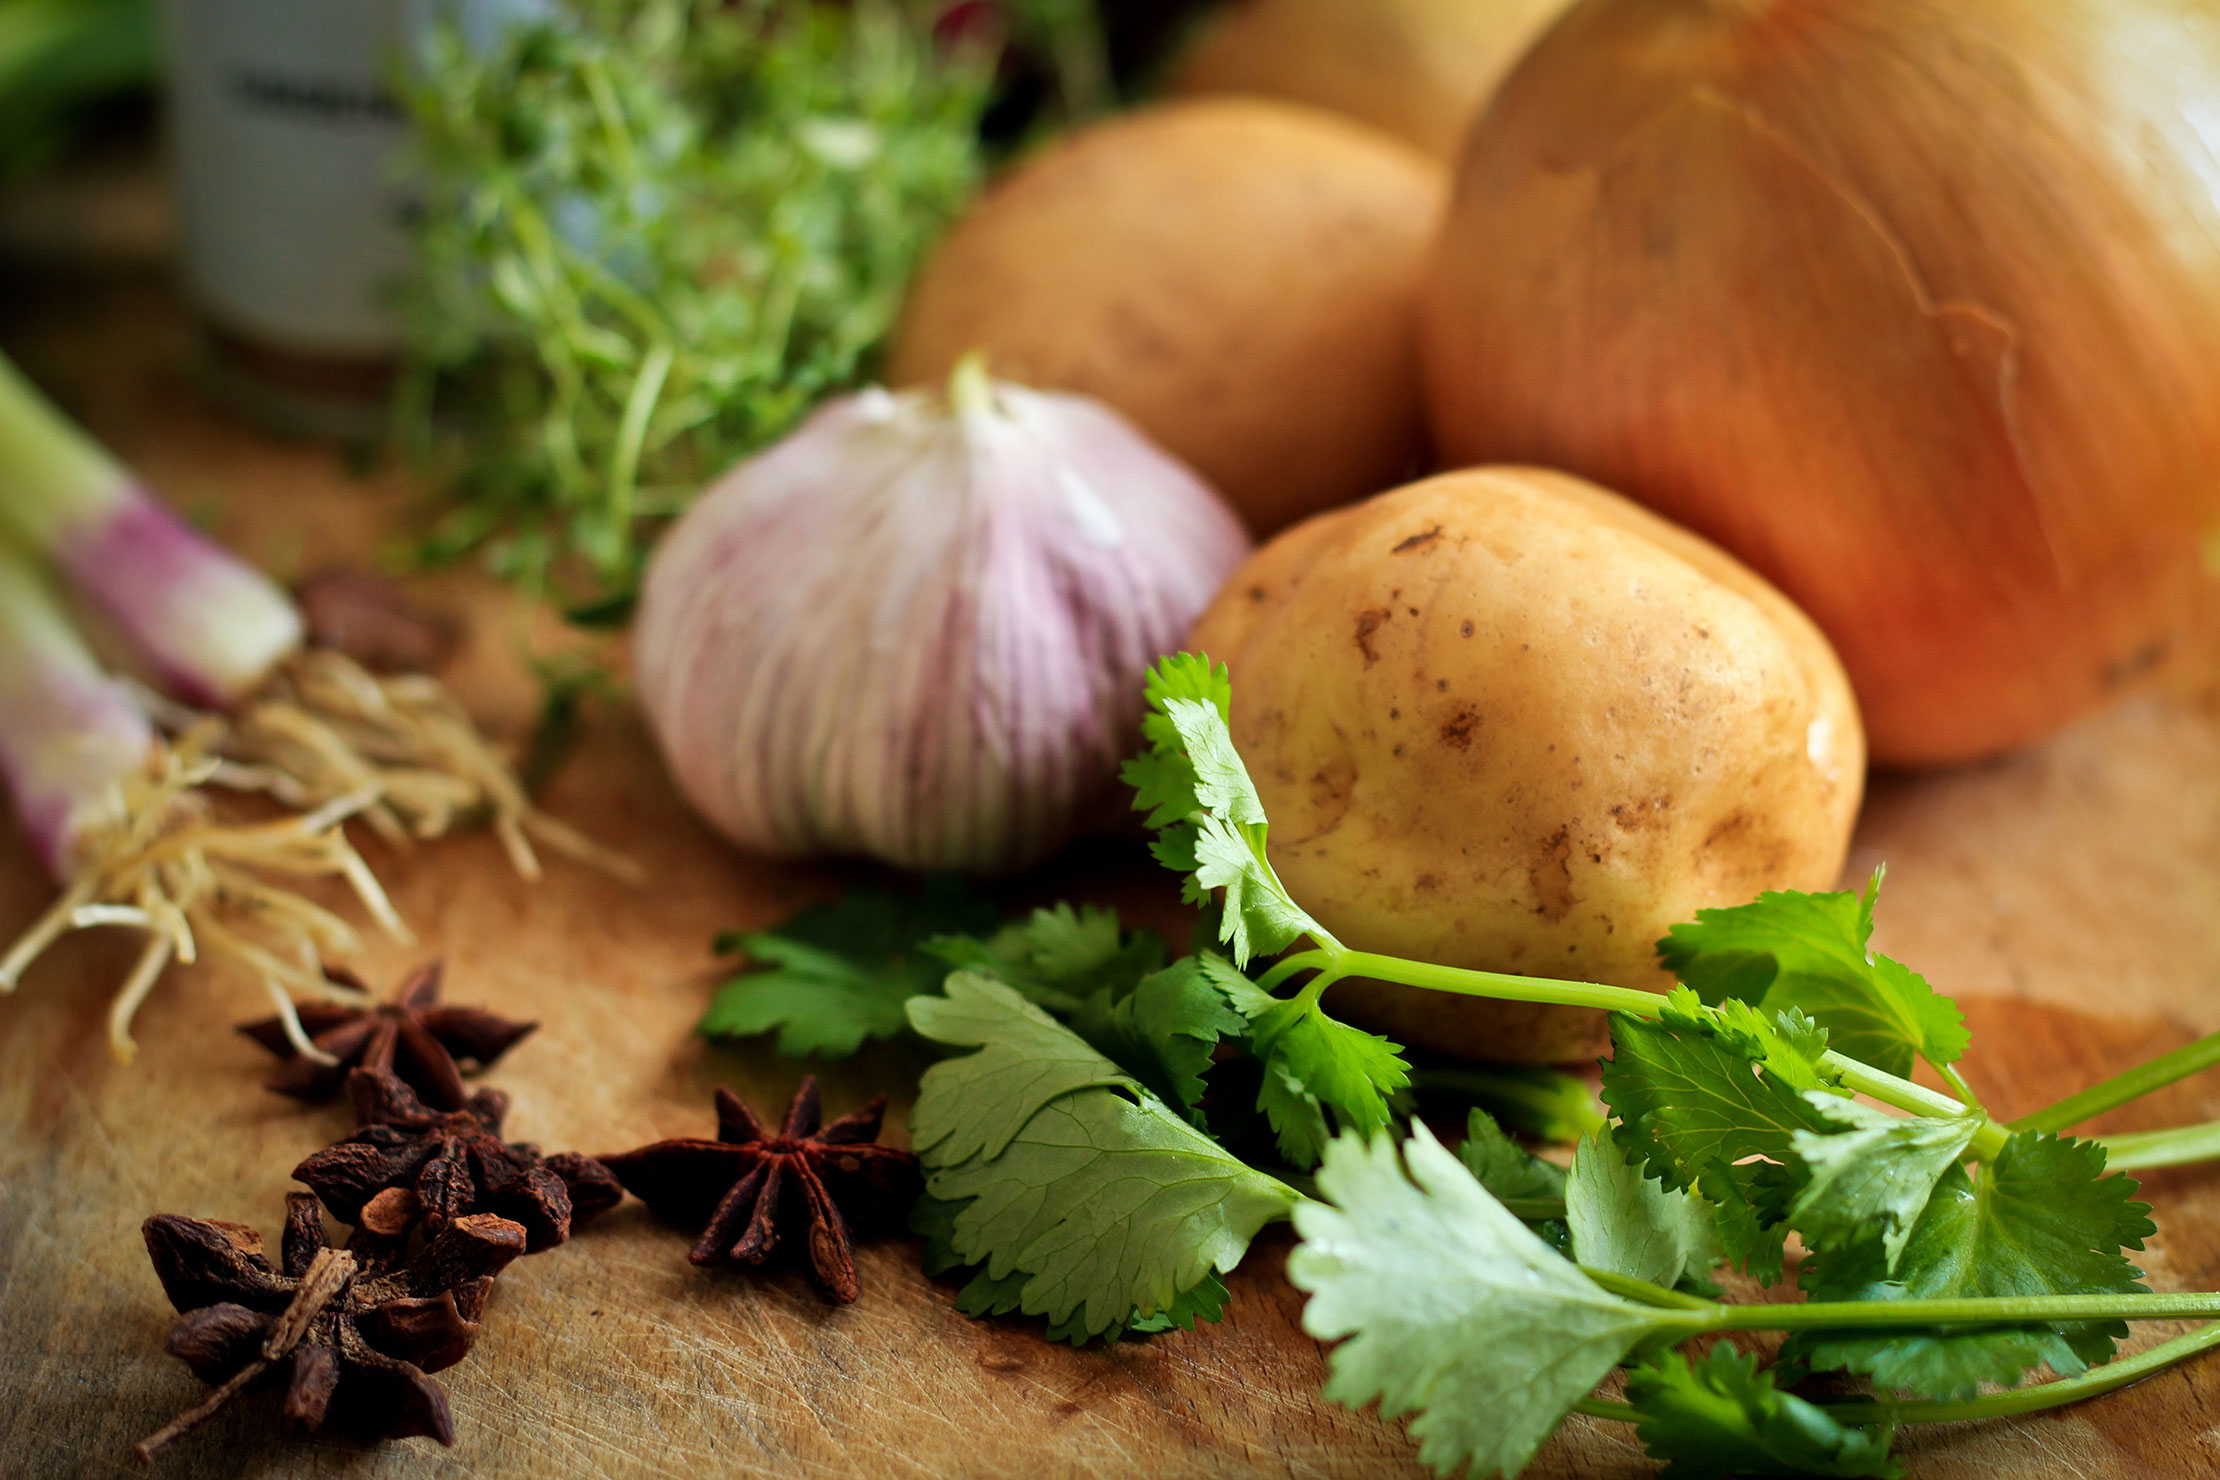
This is a vegetarian child-friendly (not spicy) bean chili. I named the dish Cowboy Beans to inspire my kids interest and appetite. Cowboy Beans can be cooked outdoors or on a stove top.
1 LB dry pinto beans
¼ cup olive oil
2 cups chopped onions
2 whole garlic cloves
2 chopped garlic cloves
2 bay leaves
1 cup diced red peppers
½ cup diced tomatoes
2 teaspoons red paprika
1 ½ teaspoon ground cumin
½ teaspoon ground coriander
½ teaspoon ground black pepper
1 teaspoon dried oregano or few springs of fresh oregano
¼ cup ketchup
2 tablespoons Worcestershire Sauce
salt to taste
Soak the beans overnight. Discard the soaking water. Put the beans in a pot, add 2 cloves of garlic and 2 bay leaves. Cook the beans for about 25 minutes or until about halfway done. Strain and discard the cooking water.
In a heavy large pot, heat the olive oil. Add onions and sauté for about 5 minutes, stirring occasionally. Add the diced peppers and chopped garlic; sauté for 5 more minutes until onions soften. Add tomatoes, sauté for 2 minutes. Mix in the spices, stir for 1 minute. Add beans, ketchup, Worcestershire Sauce, water, and salt to taste. Bring to boil, stirring occasionally. Reduce the heat and simmer until the beans are fully cooked and the flavors blended. If you are cooking on an outdoor fire, make sure not to burn your dish. If the fire gets too hot, keep replacing the evaporated water. Adjust seasoning if needed.
Ladle into bowls. Sprinkle with chopped cilantro and chives.
