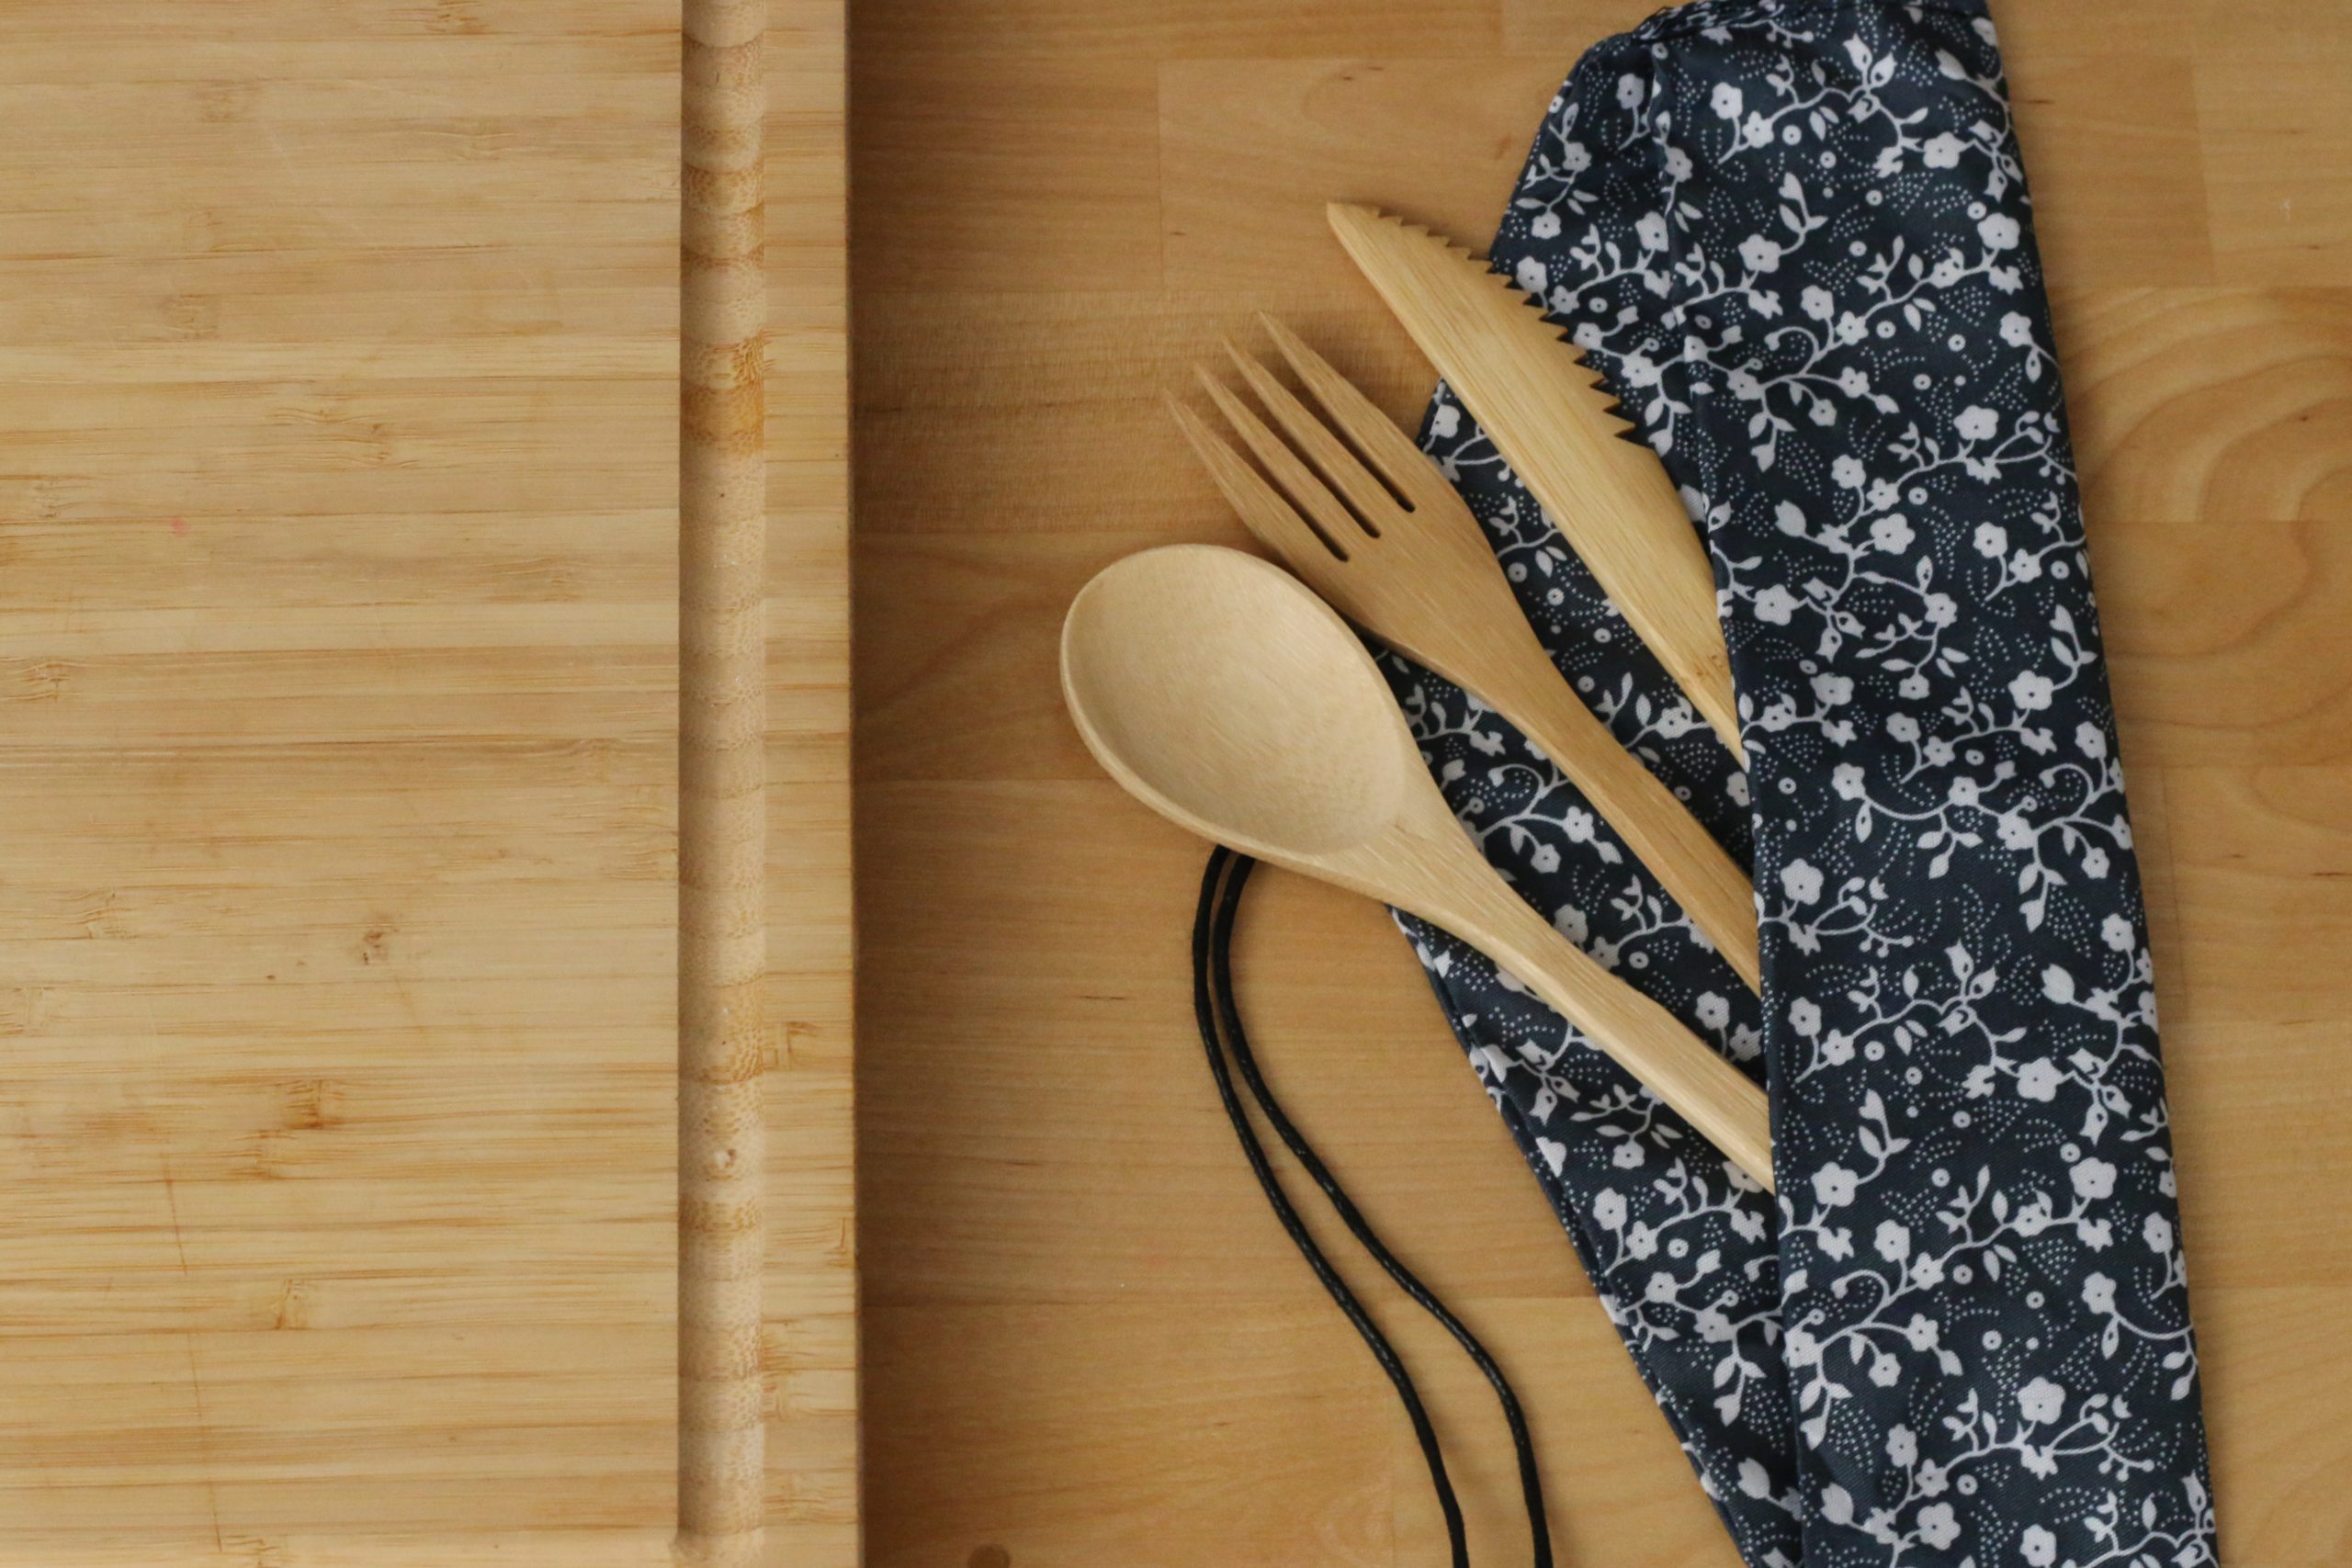
Make Your Own Utensil Holder with Upcycled Fabric

Administrative Director, Ayla Dunn-Bieber, shares some sustainable knowledge and gives step-by-step directions on how to make a travel utensil holder with (up-cycled fabric) that you can use every day!
Do you ever…
…grab plastic to-go cutlery from a cafe or restaurant?
…grab compostable to-go cutlery and feel a little better?
…think these utensils seem a little too good to be true?
…carry bamboo or other natural-material-based utensils with you?
Wherever you are on your journey towards more sustainable habits, we are here to provide information and helpful, practical tips to help you on your way!
∴
This blog post has two purposes:
1. To raise awareness around compostable & biodegradable cutlery and alert you to some major greenwashing!
2. To give you a step-by-step guide to making your own travel utensil holder using fabric from your closet. As a result, you’ll never have to worry about wasting another plastic or bio-plastic (ie compostable/biodegradable) utensil again!
Starting with our first objective: there is a great article titled “Compostable (Worse Than Plastic?)” (5 minute read) that will burst any and all bubbles you may have around compostable cutlery.
Ayla’s Cliff Notes?
With the resources it takes to make compostable & biodegradable cutlery (most are made from mono-cropped corn),
PLUS the fact that the cutlery MUST be sent to an industrial composting facility to actually have a chance at breaking down (they need very high temperatures),
COMBINED WITH the mess and extra waste associated with consumers throwing them in the recycling (they can’t be recycled and wholebatches of recycled material get sent to the landfill when thingsget put in the recycling that don’t belong),
PLUS the fact that if/when they do end up in the ocean, they will NOT break down and will act just like regular plastic…..
These utensils are just as bad as the plastic ones when it comes to their effects on the environment.
The good news: you don’t have to rely on this option!
Spread the word! Bring your own! Simply grab a fork, spoon, and knife from your home and convert them into your own to-go kit! Do you notice a trend forming? The answer to nearly every major sustainability question is REDUCTION. Above all, we have to reduce our use of, and reliance on, all forms of waste, especially single use items, including single use items made from plants.
And because we know you’re wondering how to store your re-usable cutlery in an equally eco-friendly fashion, below, we’re going to show you how to make your own utensil carrier from upcycled materials! Pop it in your bag and never worry about plastic or compostable/biodegradable cutlery again!
Step-by-Step instructions to make your own utensil holder:
Step 1: Find some material from an old piece of clothing youeither don’t like or doesn’t fitanymore (stiffer cotton/or other natural fabrics are best). A very flexible polyester won’t work as well. Size – 1 piece: 10” by 32” or 2 pieces 10” by 16” (if working with scraps of fabric or if you just want to get fancy and have the inside fabric different than the outside fabric. You’ll also need 2 smaller pieces to make the ties 2: 2” by 12”.

Step 2: Stitch the ties first (you are making a little tube)
a. Fold in half (putting right sides together).
b. Stitch starting at the top and then coming down the long side of the fabric.
c. Leave the bottom as this will get tucked in and not seen.
d. To turn right side out grab a chopstick and watch this tutorial (will save so much time and frustration 🙂 ).
Step 3. Next you are going to sew the edges of the body
a. Fold the fabric for the body of the carrier in half (again right sides together) so your piece measures 10” by 16”.
b. Place you 2 ties inside so these will get sewn right in (between 6-7 inches from one of the edges).

c. Pin your ties in place and fold the fabric so it lays right side to right side.

d. Sew about a 1⁄4” from the edge almost all the way around the rectangle. Stop once you are about 2-3” from closing the square completely.

e. Turn your rectangle right side out.

f. Iron and stitch the remaining small hole closed using an invisible stitch (use a fine/regular thread for this part)
Woohooo! You are almost done!
g. Now, position the rectangle so the larger section of the carrier below the ties is at the bottom. Fold the bottom up to about where the ties are. You can play around with how deep you want your pocket by grabbing some utensils and seeing how they fit. When you have your desired pocket depth, pin along the sides.

h. Sew the edges along the sides of the bottom section using a blanket stitch (embroidery thread works great for this part)

i. Now you are either done! Or almost done. You can keep your carrier like this or you can sew some vertical lines to create individual pockets for your utensils. Totally up to you! I would suggest using a running stitch for this.

Now, place your utensils in, roll it up, and tie! And there you have it! Stick that in your bag or pocket and you are good to go!

Send us a picture of your completed project to camp@thenatureplace.com or tag us on Instagram or Facebook @thenatureplacedaycamp.
Can’t wait to see what you make!
If you enjoyed making your own utensil holder, check out the different types of activities we do at camp that encourage care for the Earth, and learn about the sustainability-related projects we’re undertaking at The Nature Place Day Camp.


